Fields Tab
This ![]() tab contains options for Laserfiche Routing activities. It enables you to assign a template and/or field values to the entry being routed.
tab contains options for Laserfiche Routing activities. It enables you to assign a template and/or field values to the entry being routed.

Note: All settings in this tab are optional. If you do not configure any settings in this tab, no templates or fields will be assigned or removed.
To open the Fields tab
-
- Select the activity in the Designer Pane.
- Under Routing Options in the Properties Pane, click the
 fields icon to open the Fields tab of the Routing Activity Options dialog box.
To configure the Fields tab
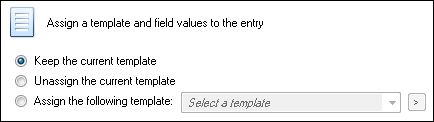
- Under Assign a template and field values to the entry, select
- Keep the current template to keep the template currently assigned to the entry.
- Unassign the current template to remove the current template from the entry.
- Assign the following template to select a template to assign to the entry. Use the drop-down menu to choose a template. Alternatively, click the Token button (right arrow)
 to use tokens.
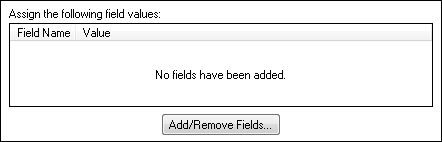
 - Under Assign the following field values, click Add/Remove Fields to open the Choose Fields dialog box and assign a new field.
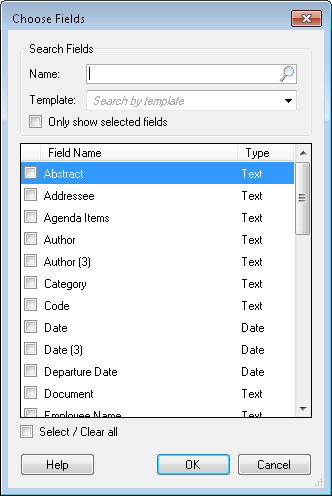
- In the Field Name column, select the checkboxes next to the fields you want to add. You can start typing in the Name text box to search by the name of the field, or select a template from the Template drop-down menu to display fields associated with a specific template. You can also select or clear all the fields at once by selecting the Select/Clear all checkbox at the bottom of the dialog box. If you only want to display fields that have been selected, select Only show checked fields. Click OK when finished.
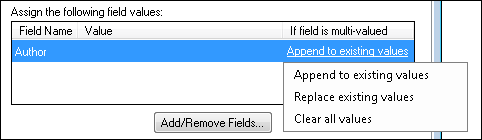
- The fields you selected will appear in the Assign the following field values table. If a field you selected allows multiple values, click Append to existing values to access a drop-down menu of for how the Field Value(s) you specify will interact with the multi-valued field.
- Append your specified field value(s) to existing values.
- Replace existing values with your specified field value(s).
- Clear all values. If you select this option, you will not be able to add field values.
- Under Field Value, enter the text that will be added to the field. Click the Token button (right arrow) to use tokens. If the field you selected is a list field, a drop-down menu of the list values will be available by clicking the down arrow
 .
. - Optional: If you are appending or replacing the text of a multi-value field, when you enter a field value, an additional line will appear for you to type additional field values in. As you continue to type field values, additional lines will appear. To reorder the field values you entered, use the green up-and-down arrows
 . To remove a field value from your list, click the red X
  .
.